How to install Airobi
Learn how to install Airobi in Trengo in just 3 easy steps
Posted by
Related reading
The AI chatbot landscape in 2024
Who are the different players in the AI chatbot landscape in 2024? Which one works flawlessly with Trengo? Read all about it in this article.
Trengo AI: go for inbox zero with Airobi
Inbox zero - the dream of every customer support team. Airobi for Trengo AI integration is the solution that will help you achieve it.
Transform 1-star reviews into 5-star ⭐️⭐️⭐️⭐️⭐️ experiences
Learn how to turn negative reviews into the perfect opportunities for improvement.
This blog will describe the 3 simple steps to follow to install Airobi and reap the benefits.
Prerequisites
- Trengo account
- Trengo API key (How to get your Trengo API key)
- Airobi account
If you already received your unique Airobi URL, you can skip to Step 2 and create a new integration with Trengo.
Step-by-step guide
Step 1. Sign up with Airobi
The first step is to create your account. Once you have your account, you'll also get your personal URL for your copilot.
DO NOT SHARE this URL, the token or your API key. These are coupled to your Trengo or Airobi accounts.
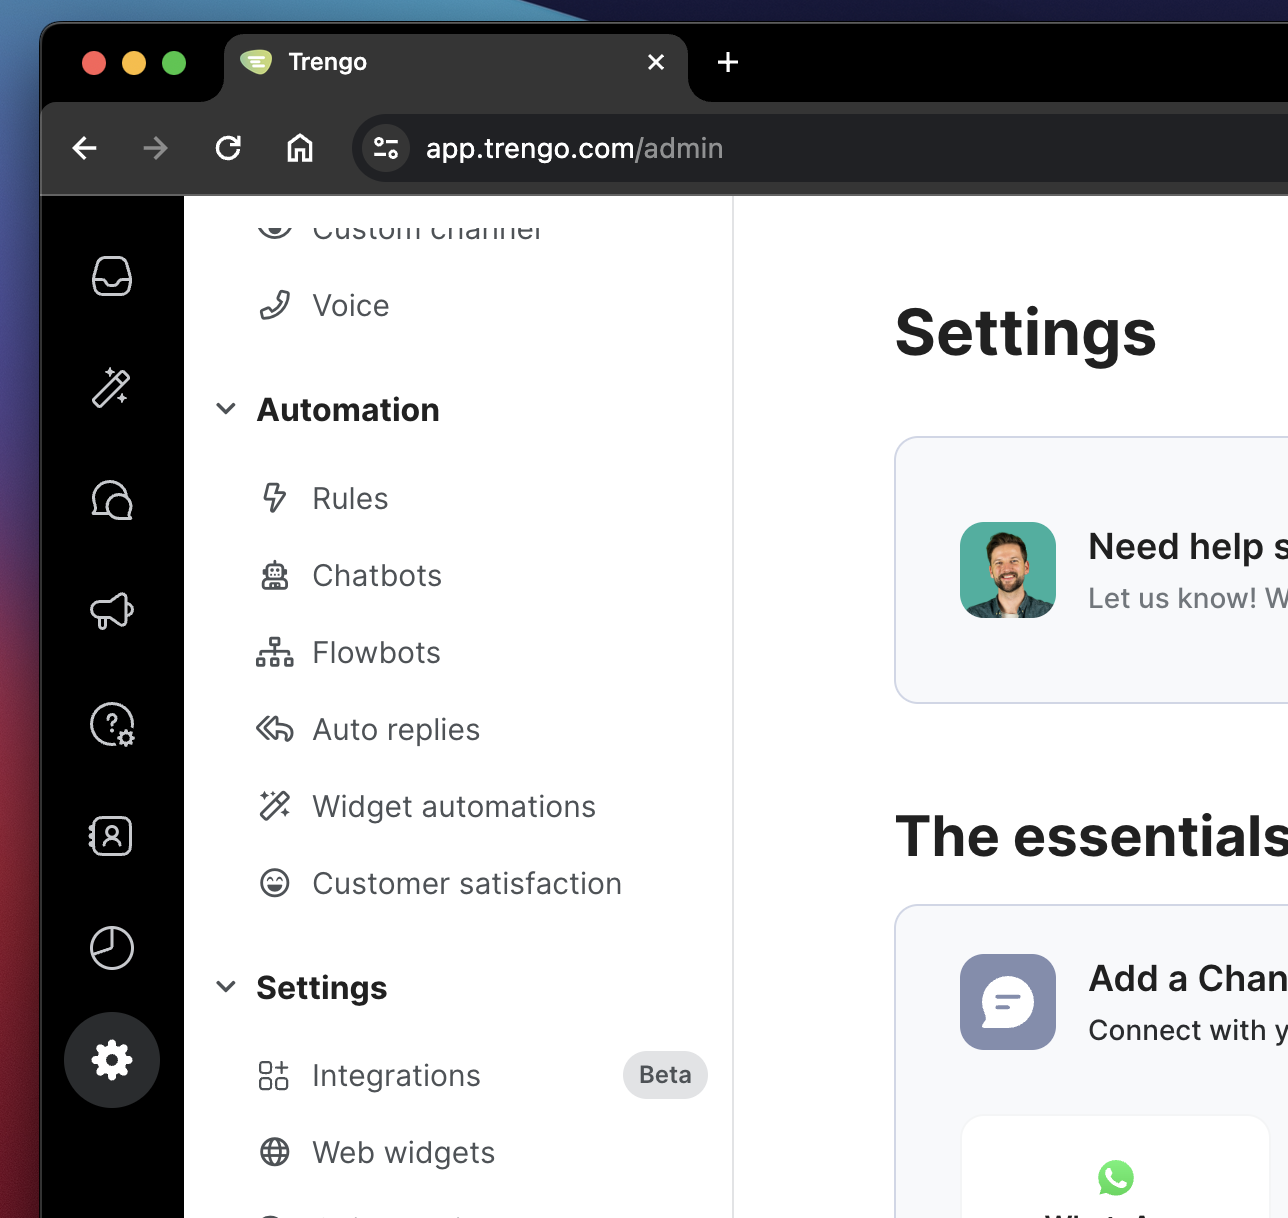
Step 2. Create new integration in Trengo
Open your Trengo account and navigate to the Admin interface. Click on Integrations in the Settings menu.
Or click here to go directly to the integration page.
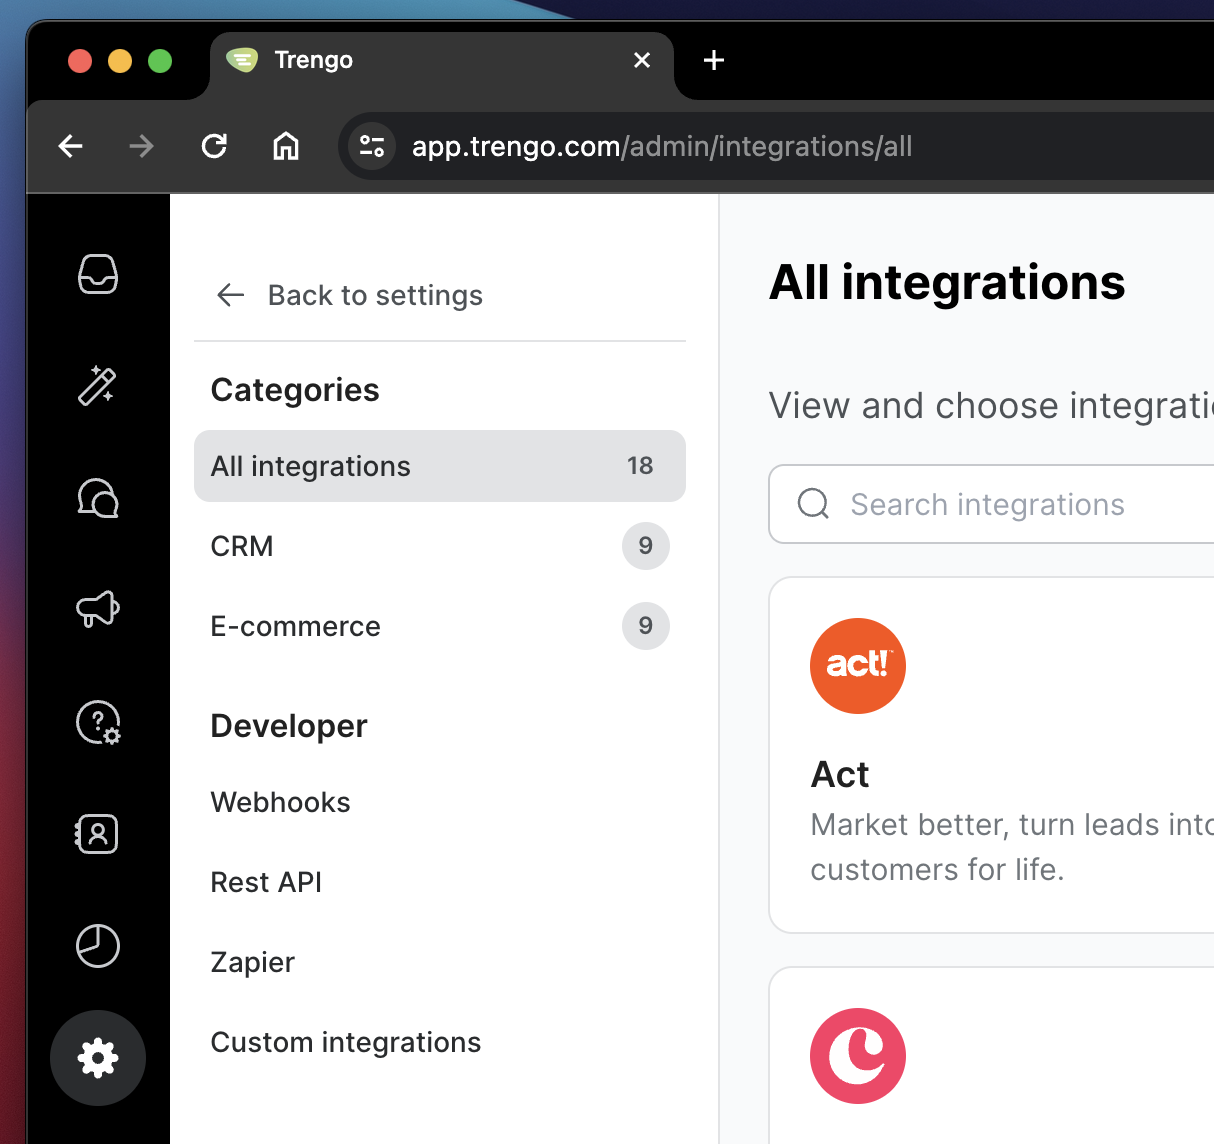
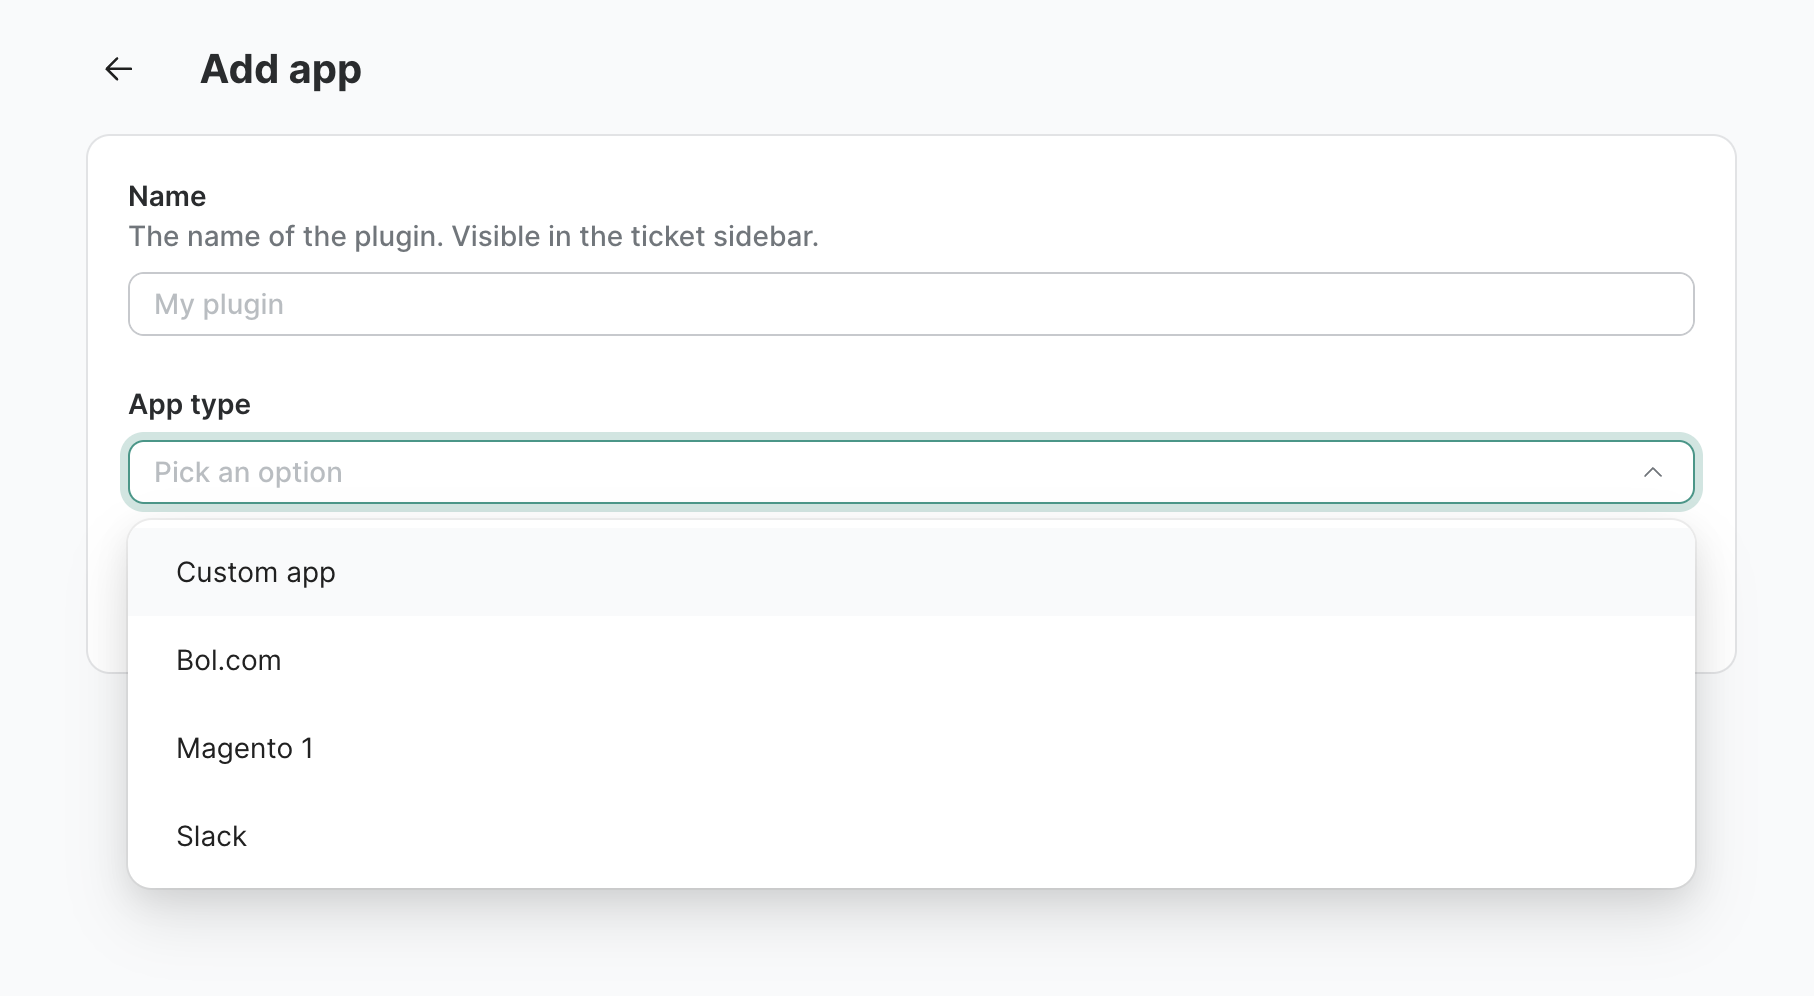
On the top right, click on the Add app button.
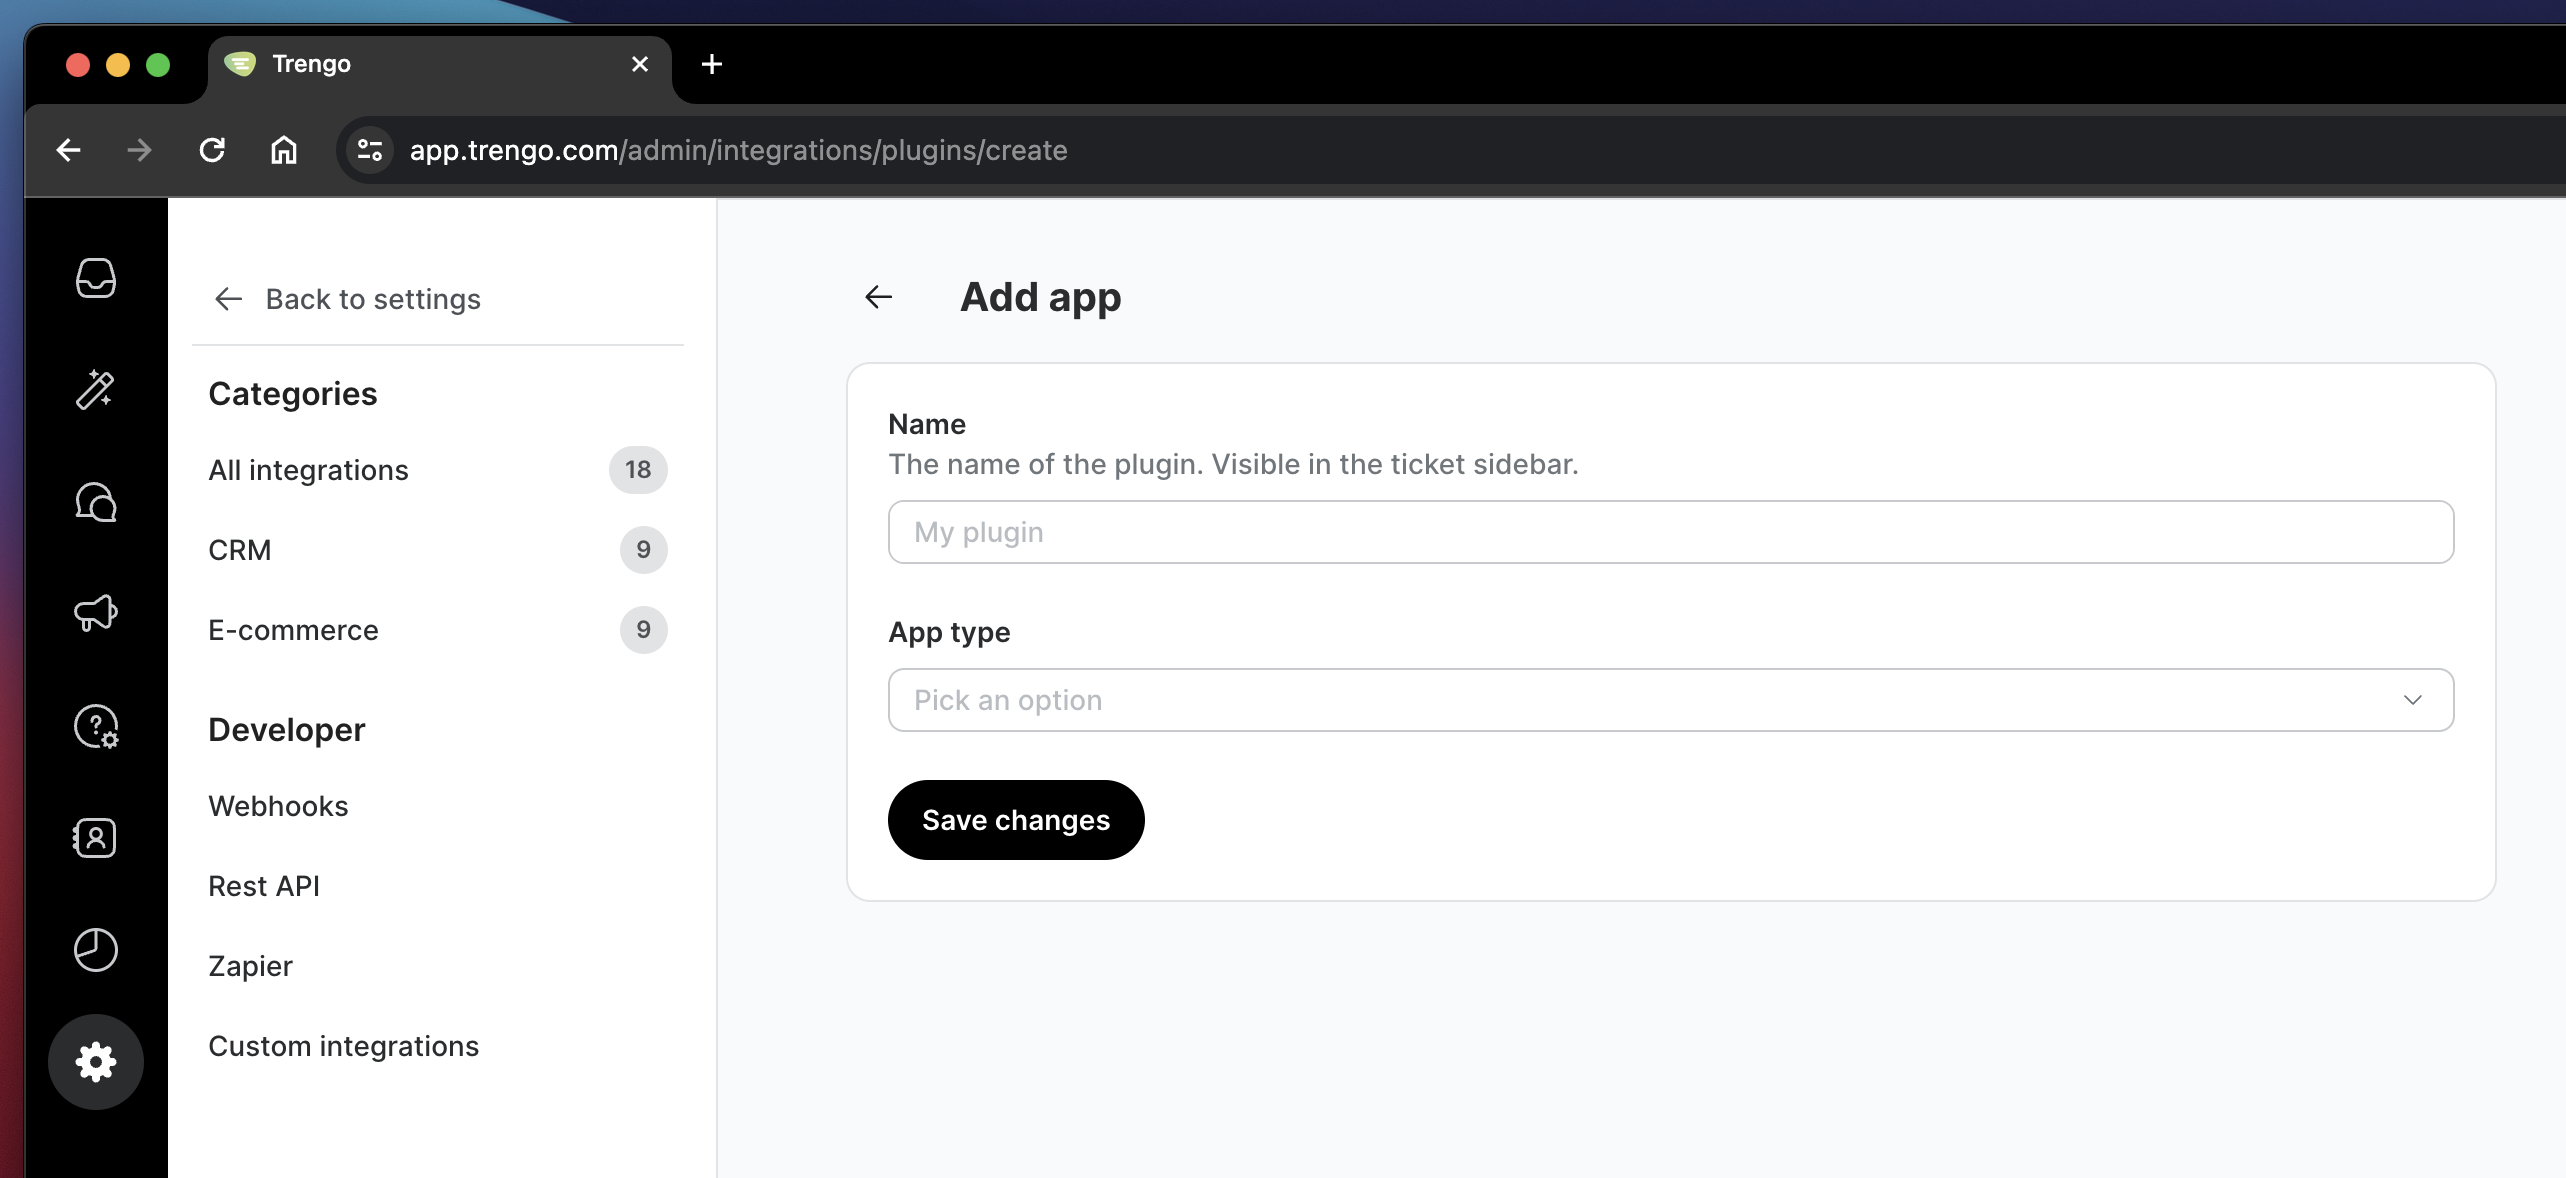
This will open a new window, where you can configure a new sidebar integration.
In the Name field fill in Airobi.
In the App Type dropdown list, select Custom app.
In the App URL fill in your uniquely generated Airobi URL.
In the Height field, fill in 750px. You can use other heights, but the UX is based on a pre-defined height of 750 pixels.
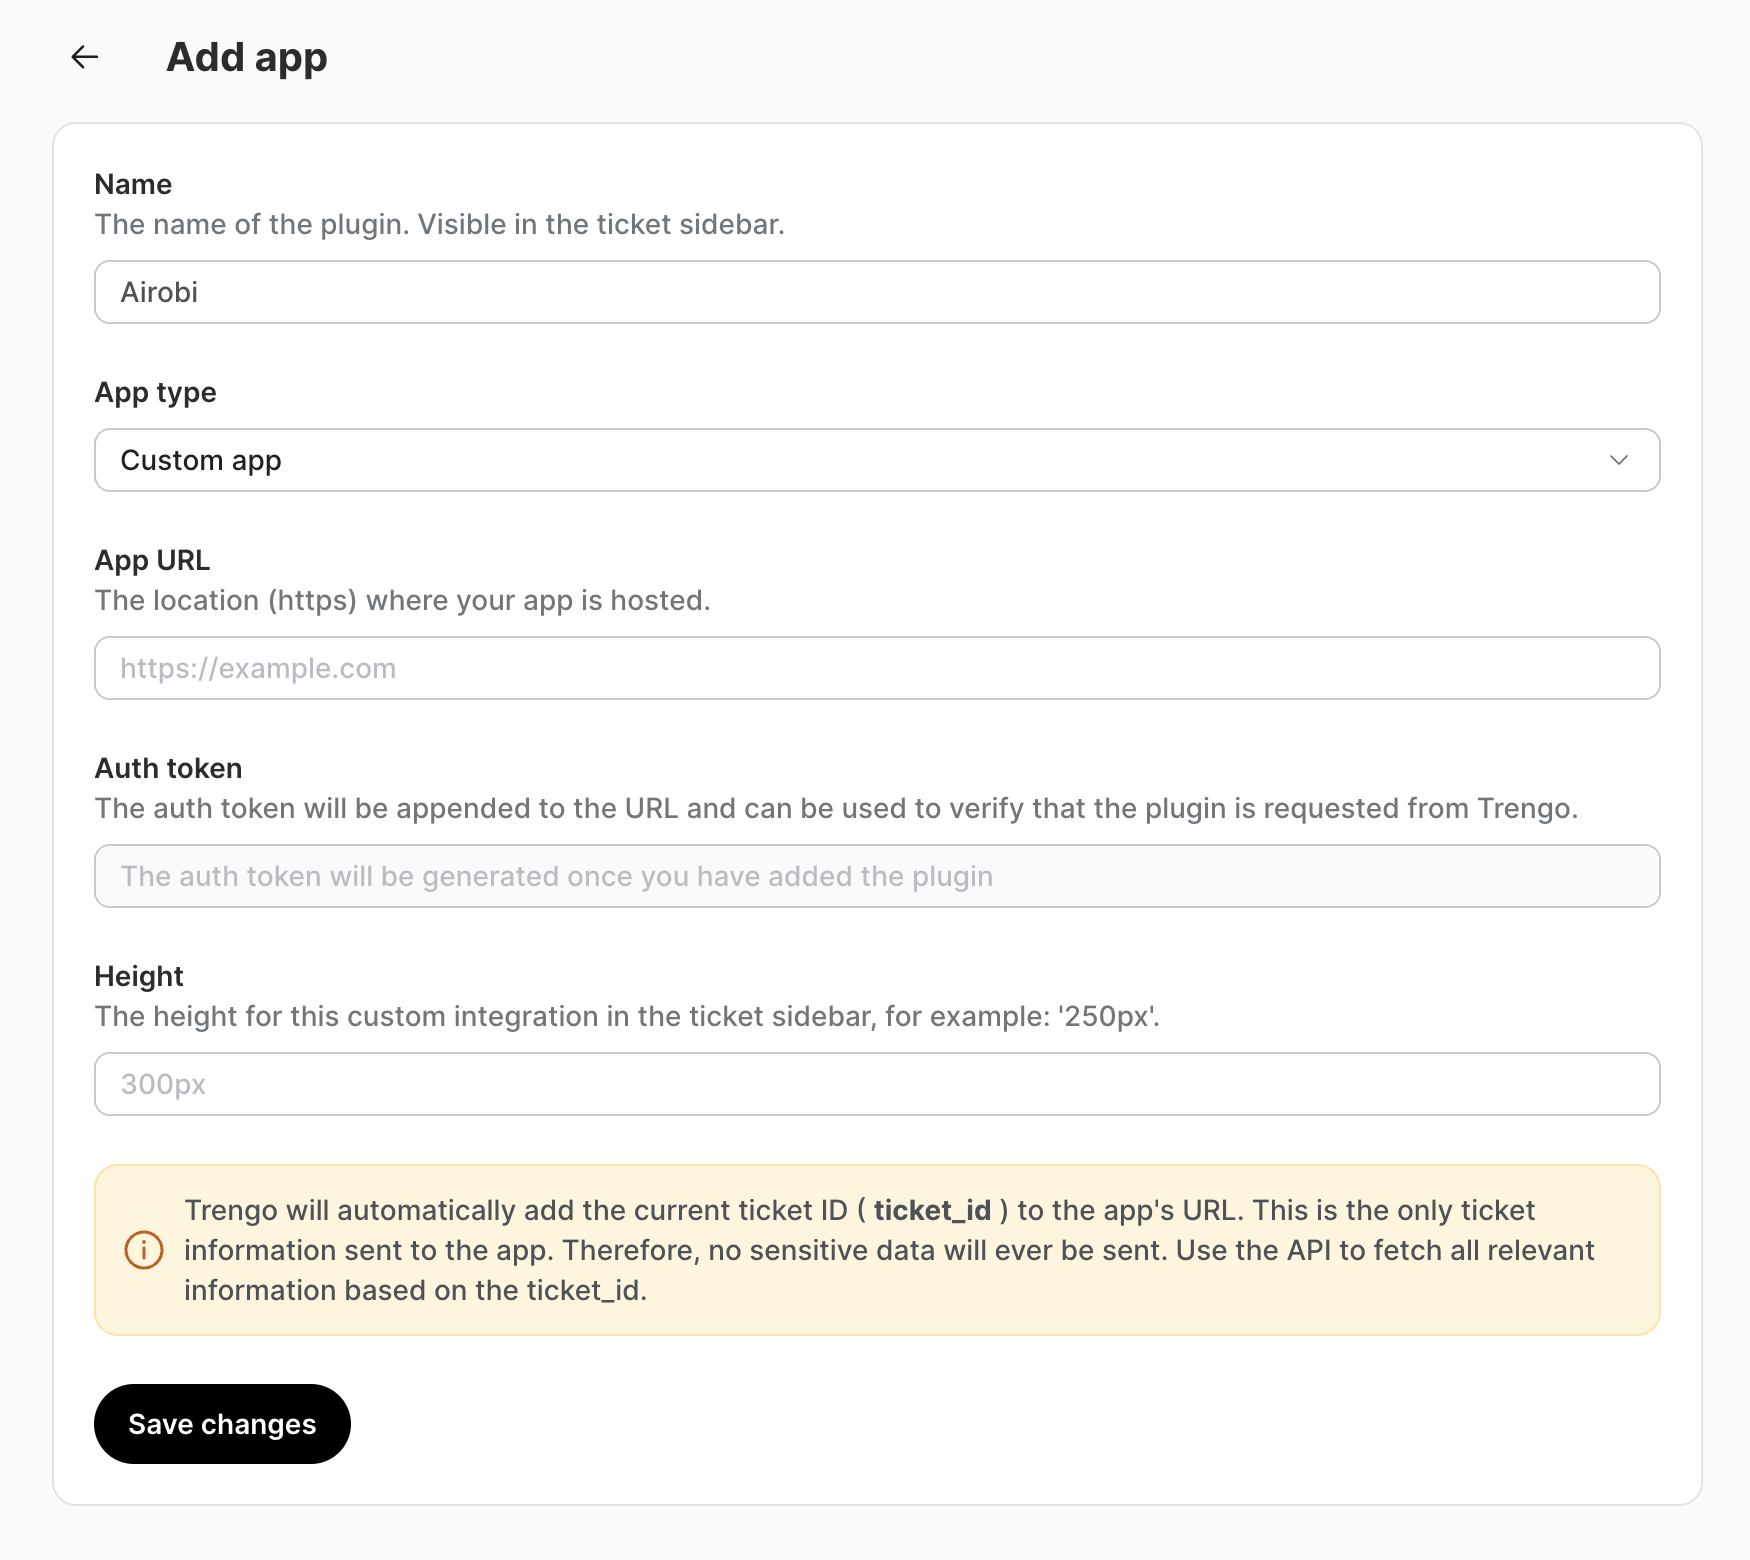
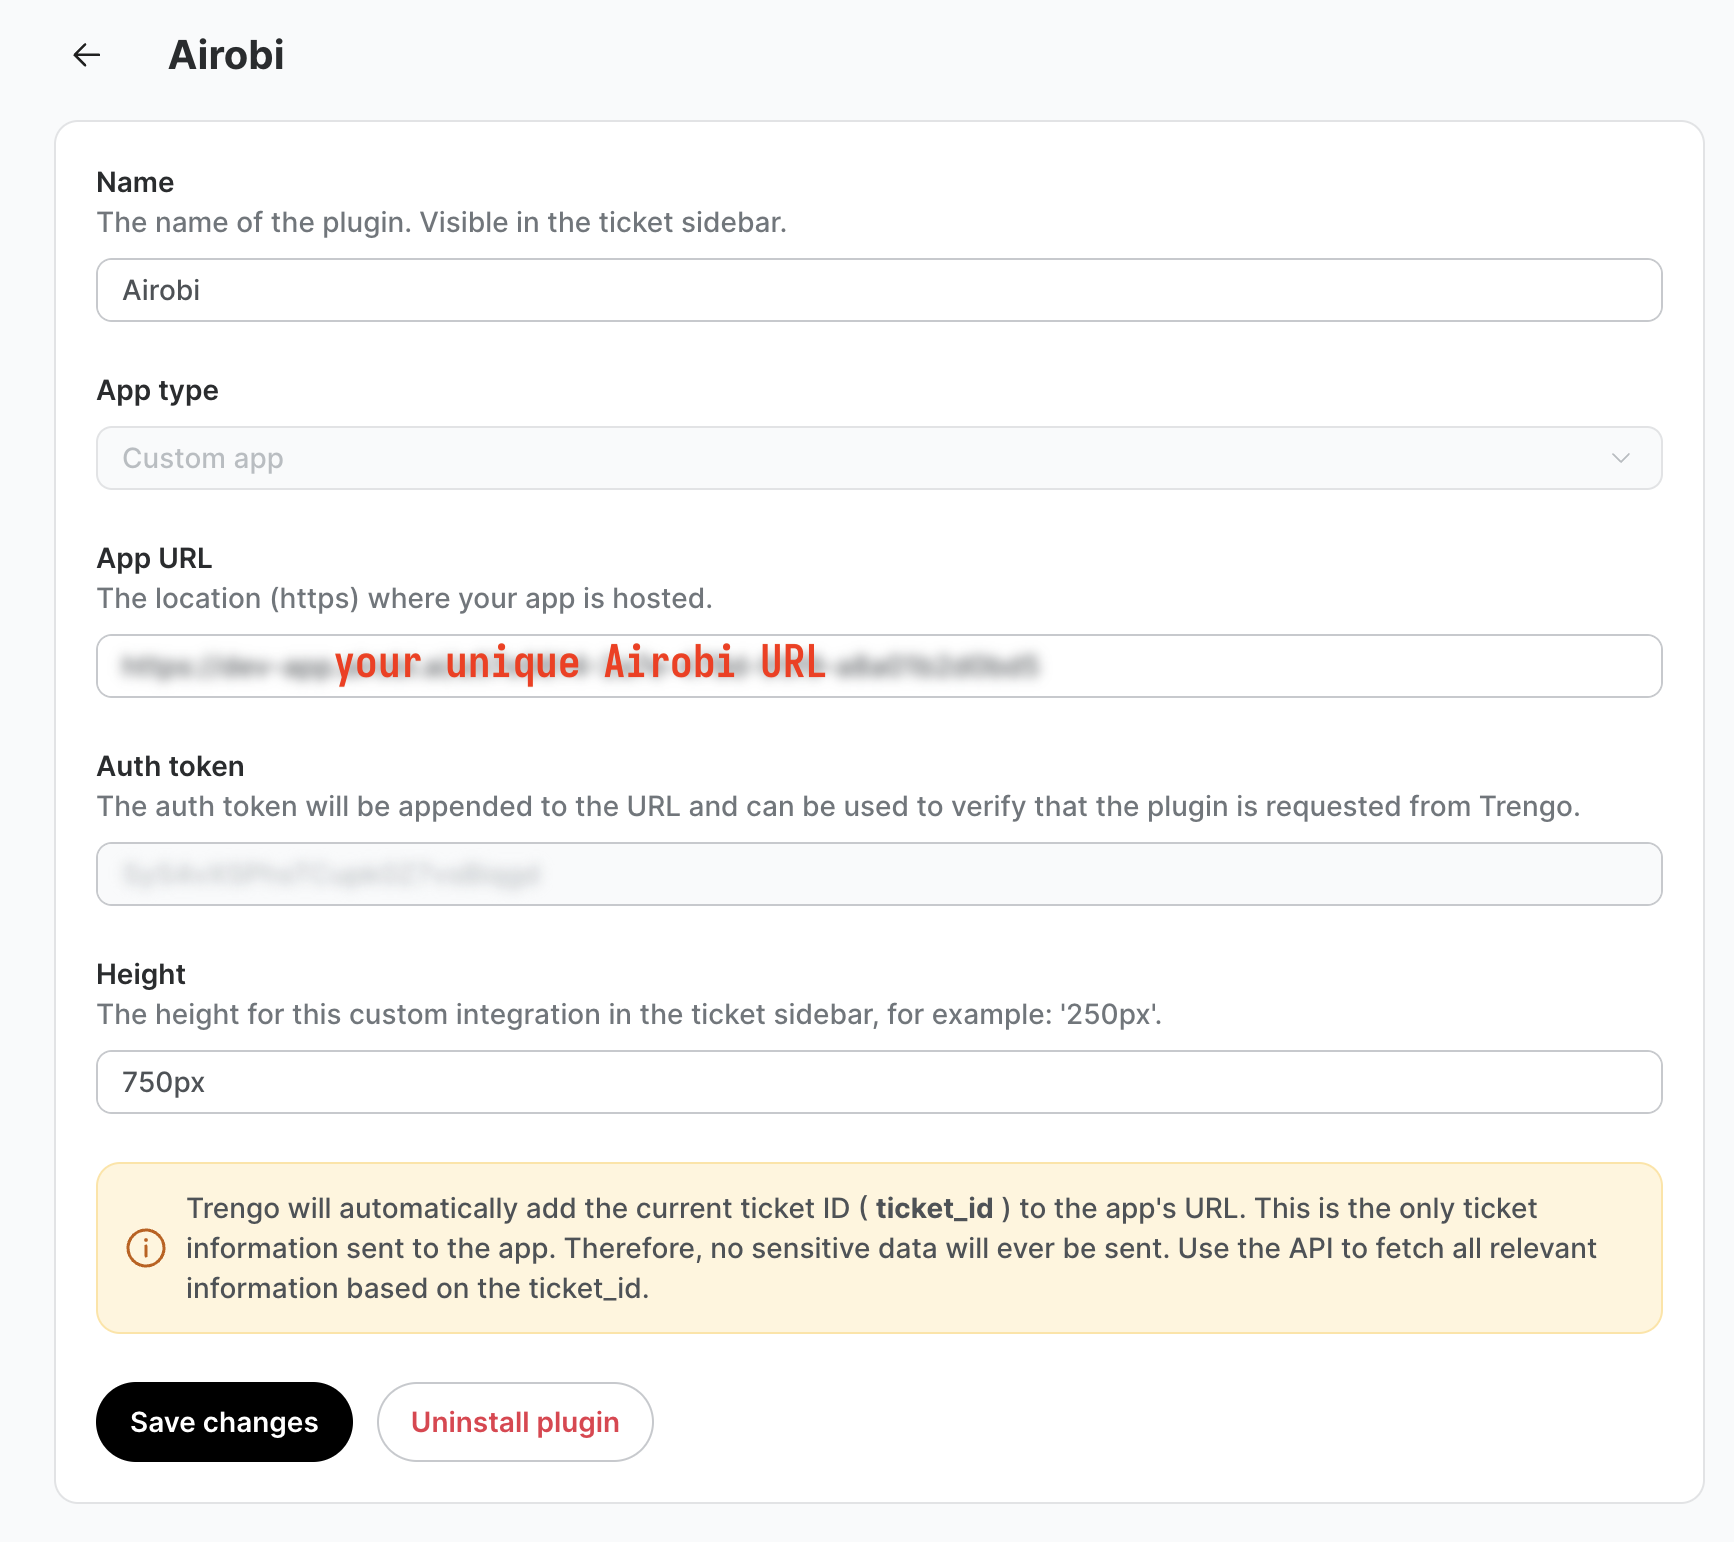
Finally, Click on Save Changes. Next refresh your window or open-and-close your browser.
Don't worry, you're almost there! 😊
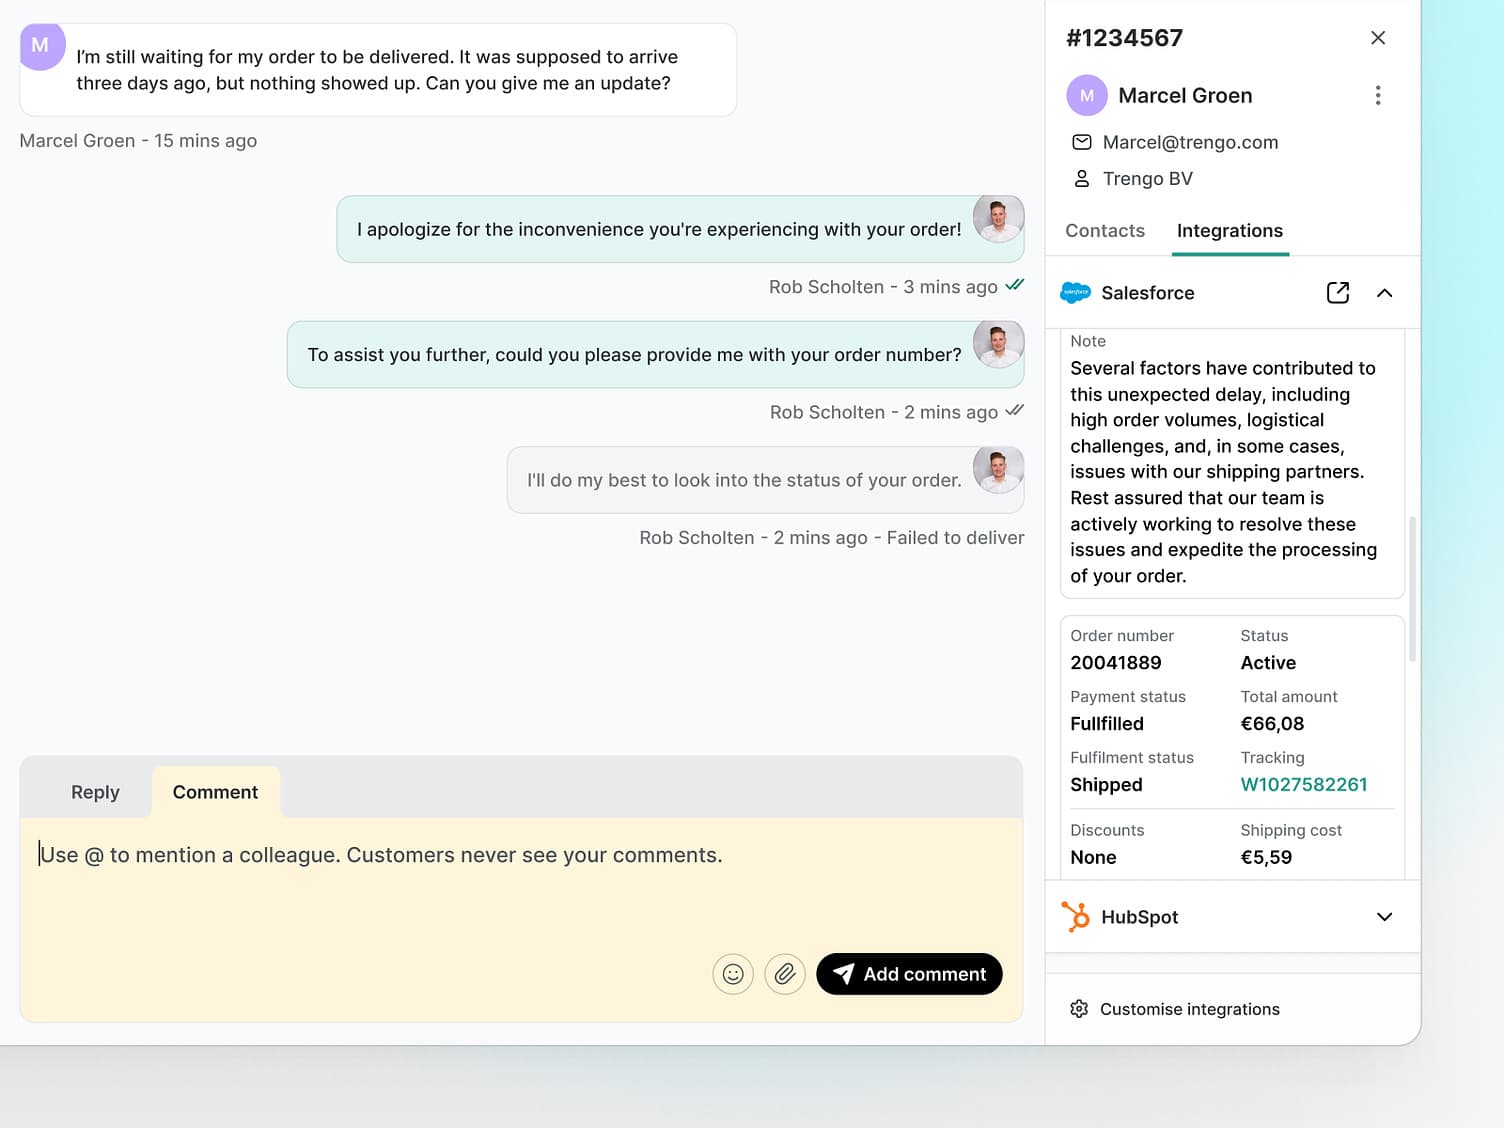
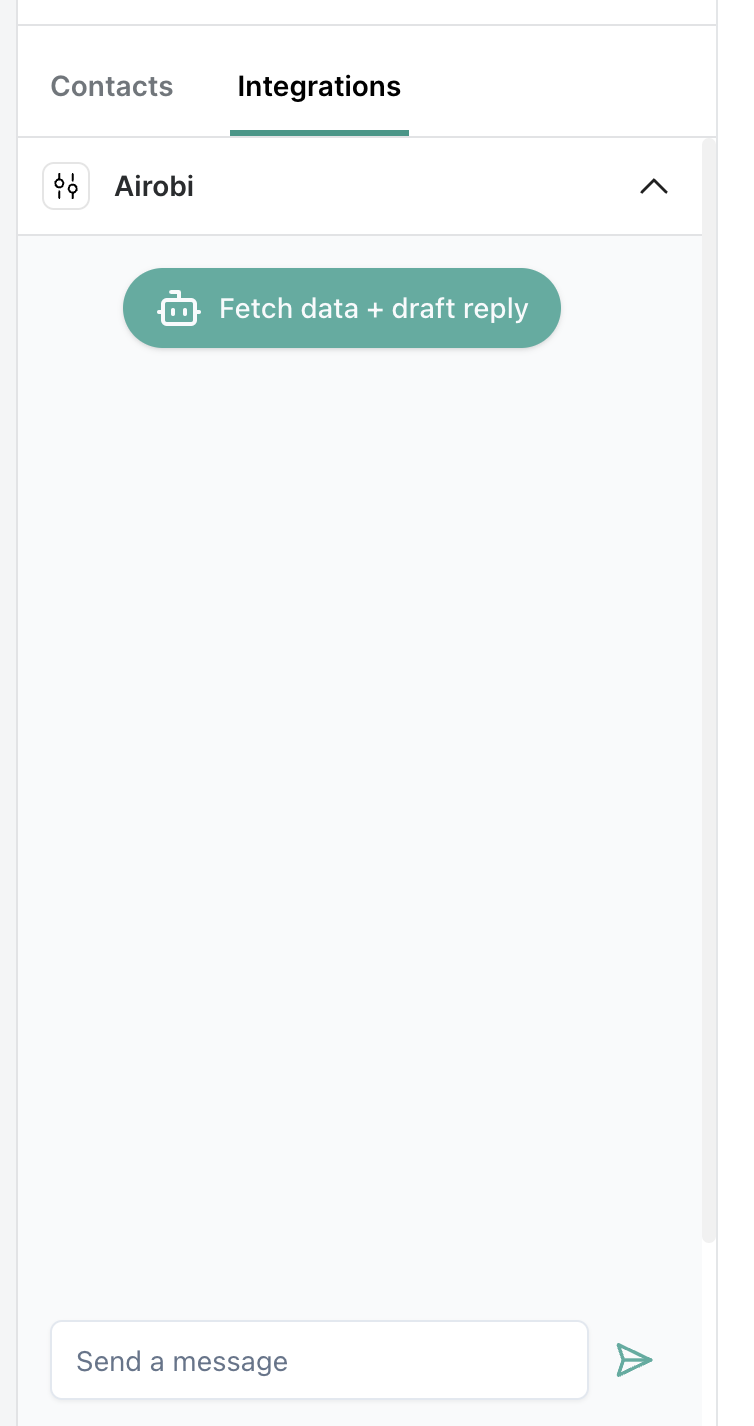
Step 3. Enable Airobi in your sidebar
The last step is to enable Airobi in your sidebar.
Open a ticket view. If you have not yet opened the right sidebar, you'll can do so via the icon on the top right.
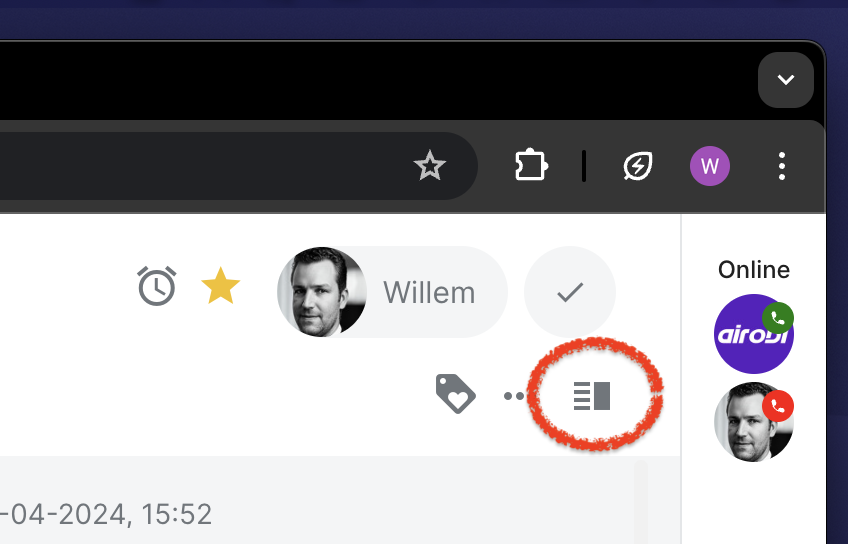
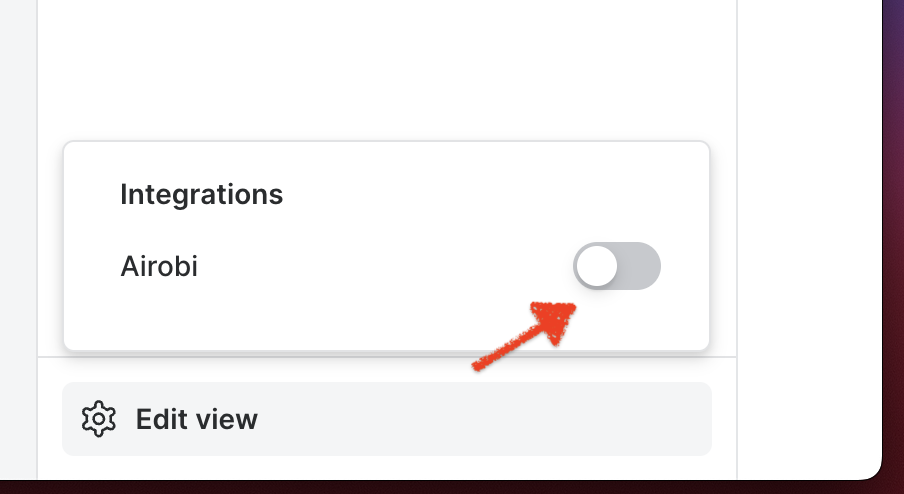
Now it is time to enable Airobi in the sidebar. Click on the cog symbol at the bottom and toggle Airobi.
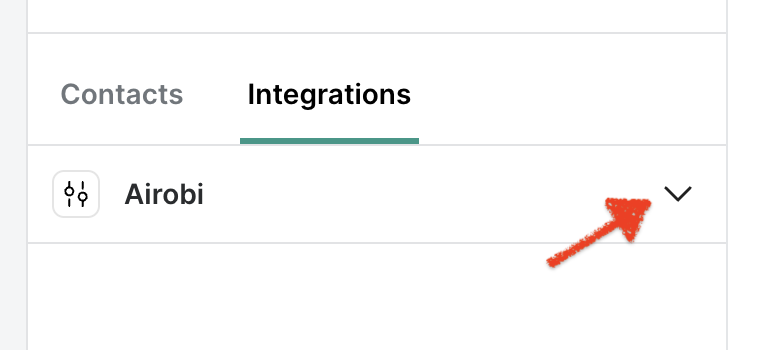
Collapse the Airobi tile and you are ready to rock-and-roll 🎉
Conclusions
The installation is straightforward.
You can also try out Airobi for free. Simply create a new account and claim your free credits. Airobi works on a pay-as-you-go pricing model.